


The simplest box joint jig is a block of wood attached to an auxiliary fence. The theory is simple.
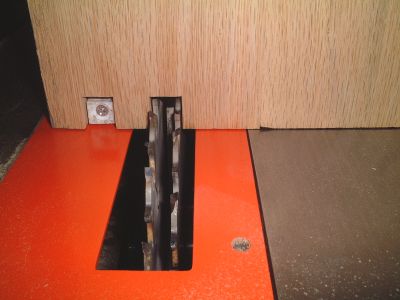
If youĺre cutting a half inch box joint, you use a half inch dado blade, and a half inch spacer block that is exactly half an inch from the blade.
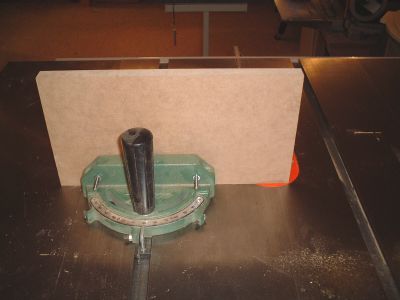
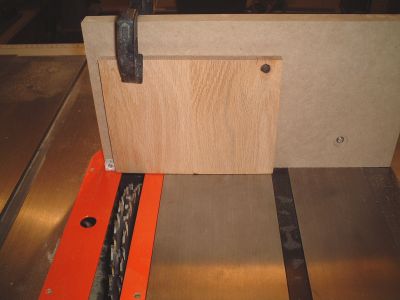
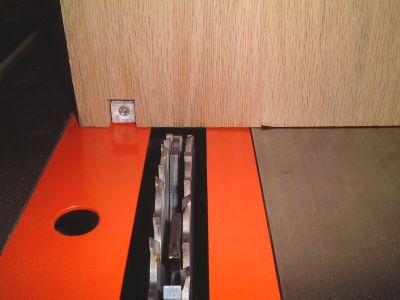
Begin by attaching an extension to your miter gauge. I used a scrap of MDF that I happened to have on hand. Make the bolt holes a little larger than necessary so have some wiggle room in case you have to tweak the jig.
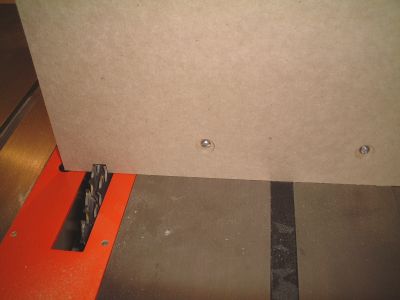
Run the jig through the saw and make a notch with your dado blade. (The notch should be the same width as your finger joints.)
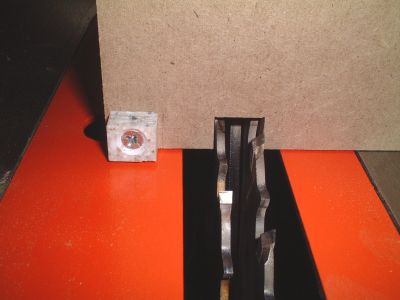
Cut a spacer block that is the same width as the notch and attach it to the extension. (If you are using a half-inch dado blade, the spacer block should be half and inch wide and positioned half an inch from the blade.)
Now you're ready to test your jig. Clamp a piece of scrap wood against the spacer block, then run it through the saw.
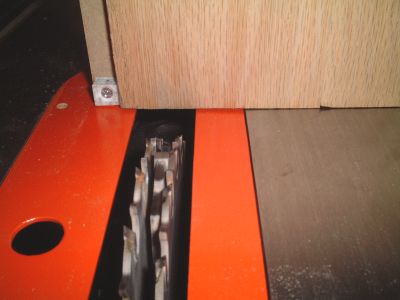
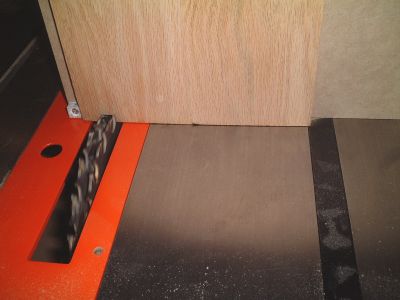
With the saw turned off, unclamp the wood, place the notch you just cut on the spacer block, and then turn the saw back on and cut another notch.
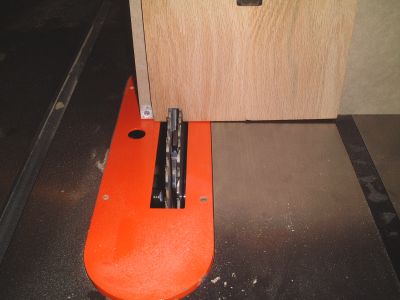
Keep repeating until you have cut fingers in the entire width of the wood. Repeat with a second piece of scrap wood, and test the fit.
You will probably have to tweak your jig to get a perfect fit. If the fingers are too wide (and the fit is too tight), move the block TOWARD the blade. If the fingers are too loose, move the block AWAY from the blade.
Incidentally, this setup can be used with either the table saw or a router table.