


The plans for this table came from The Furniture of Gustav Stickley, a book by Joseph Bavaro and Thomas Mossman. For exact dimensions, you'll have to check the book.
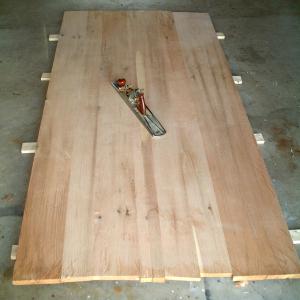
The top is three and half by seven feet, which is really big, way too big for my Performax. I glued it up from several boards and flattened it with a number seven Clifton plane. Clifton makes a great plane, much, much better than Stanley or Record. I don't have a Lie Nielson, but I understand they are similar in quality and performance.
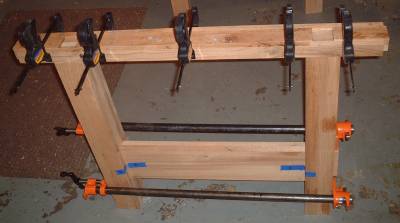
I glued up the legs from thinner stock. I left a space that will serve as a mortise for a huge mortise and tenon joint. A spacer block was put in place while I was clamping it up, then I removed it once the clamps were in place. I clean up the glue before it has a chance to set.
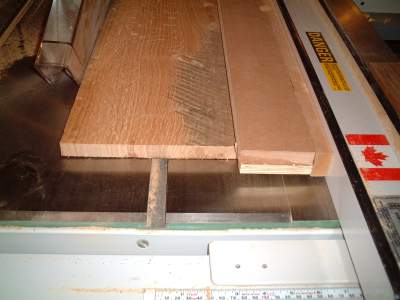
The boards I used were too big to for my jointer, so I edge jointed them with the table saw. A "helper" board lies atop the board to be edged and keeps it moving it parallel to the fence.
Here's a look at the underside of the "helper" board. It's two boards joined at right angles with a little pusher block at the end. Pretty simple and very effective.
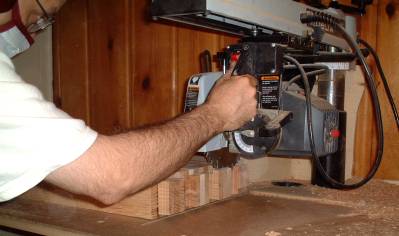
Here's a shot of me gang cutting some tenons. These are the tops of the legs, which are joined into the upper support with a blind mortise and tenon joint.
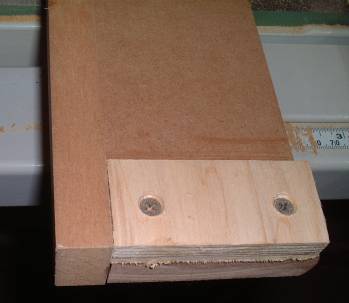
This is a top view of the blind mortise and tenon. The leg is in the center and I'm building the piece that goes around it out of scrap wood.
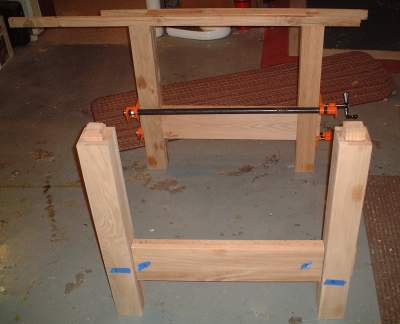
In the background you can see the upper support being built on one pair of legs, and in the foreground you can see a couple of legs with the exposed tenons.
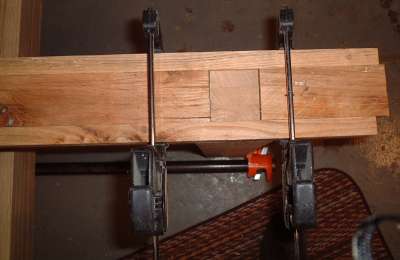
Another shot of the horizontal support being created. Believe it or not, it was actually created from eight pieces of scrap wood.
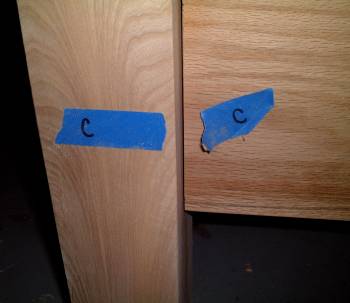
I find it useful to label the pieces with tape, which can be removed while I sand and then re-applied. This helps me keep the most attractive grain where it will be seen.
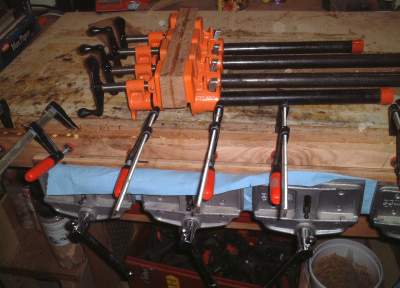
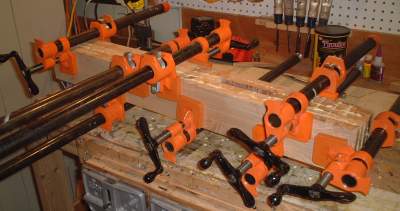
All of the pieces are glued up from thinner stock. If you look carefully, you can see that I have of couple of glue ups in progress at once, which was pretty typical for most of the operation. I had daily and hourly schedules for gluing up stock.

The mortise in the bottom rail is cut with a router and guide bushing.
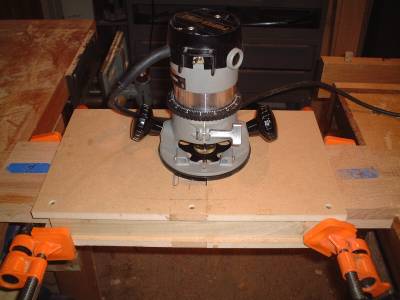
The router bit was only long enough to cut about half way through the rail, so I made a two-sided fixture that had an identical guide hole on each side. I was worried because I'd never done anything like it before, but it worked great.
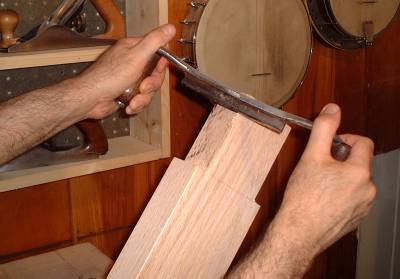
The corners of the mortise were rounded, and rather than square them off I rounded the tenon with my trusty drawknife. Look at the size of that tenon-much larger than what I would normally make.
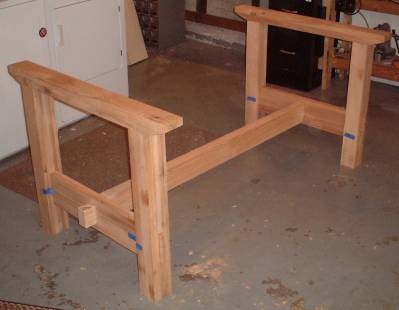
This is the first fitting of the parts, and everything went well. I ran out of room in the shop, so I'm assembling in the laundry area.
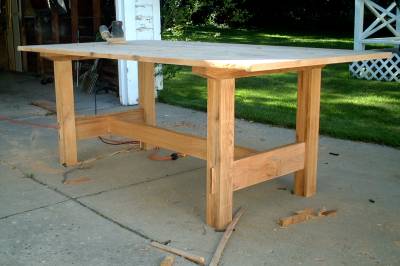
It was such a nice day that I did the final sanding and most of the finishing outside or in my garage.
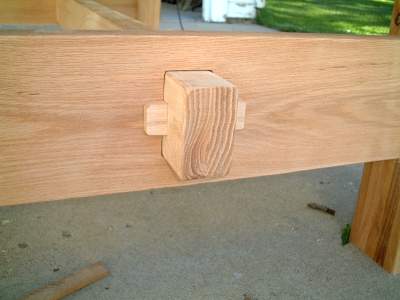
This locking mortise and tenon joint and four screws are all that hold the pieces together. The table is too large and heavy to move, so it has to break down.
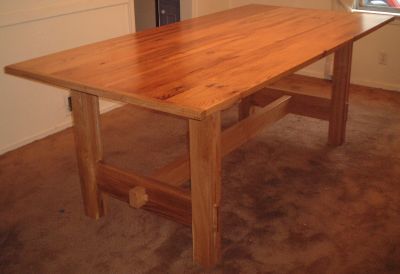
Finished at last! I used four coats of Behlen's Master Gel clear finish on the top and two coats on the legs. I allowed at least four hours between coats and scuffed with a gray Scotch Brite pad and cleared the dust before applying the final coat. After the final coat cured I lightly sanded with a fine 3M sanding sponge, then I applied a coat of finishing wax with 000 steel wool and buffed it smooth.