


Part One: Building the Base
The base of the workbench started out as the base of a Gustav Stickley dining room table. However, the table turned out to be too large for our dining room, so I bought a new table and cut down the old one and used it as a workbench. The basic design is the same, and here are the steps I followed when I originally built the base.
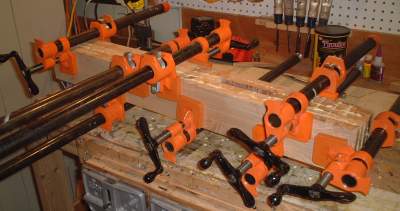
I glued up the legs from thinner stock. I left a space that will serve as a mortise for a huge mortise and tenon joint. A spacer block was put in place while I was clamping it up, then I removed it once the clamps were in place.
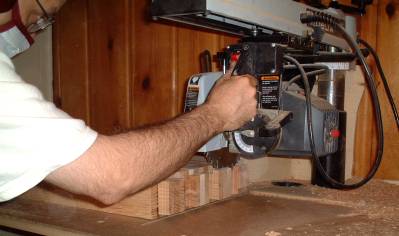
Here's a shot of me gang cutting some tenons. These are the tops of the legs, which are joined into the upper support with a blind mortise and tenon joint.
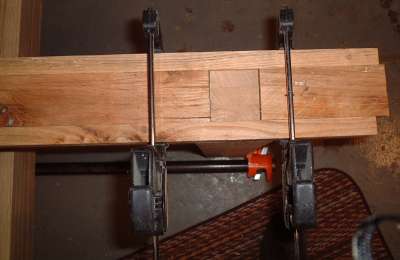
This is a top view of the blind mortise and tenon. The leg is in the center and I'm building the piece that goes around it out of scrap wood.
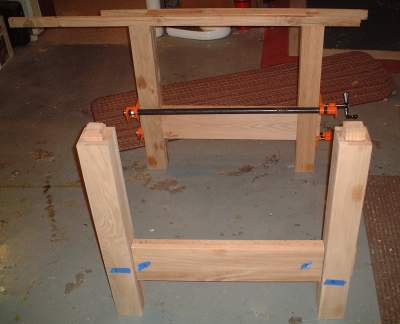
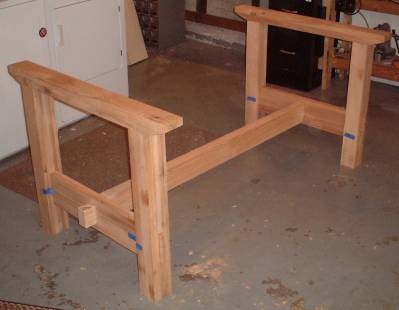
In the background you can see the upper support being built on one pair of legs, and in the foreground you can see a couple of legs with the exposed tenons.
Another shot of the horizontal support being created. Believe it or not, it was actually created from eight pieces of scrap wood.
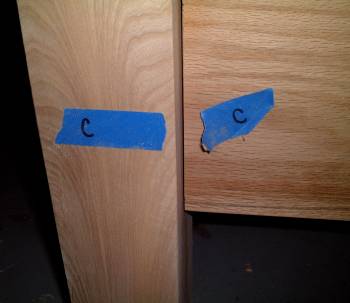
I find it useful to label the pieces with tape, which can be removed while I sand and then re-applied. This helps me keep the most attractive grain where it will be seen.
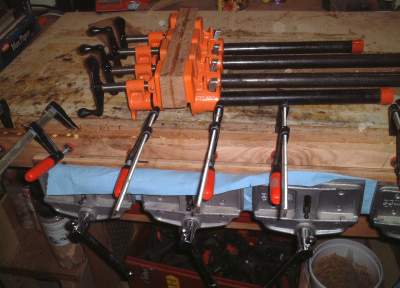
All of the pieces are glued up from thinner stock. If you look carefully, you can see that I have of couple of glue ups in progress at once, which was pretty typical for most of the operation. I had daily and hourly schedules for gluing up stock.

The mortise in the bottom rail is cut with a router and guide bushing.
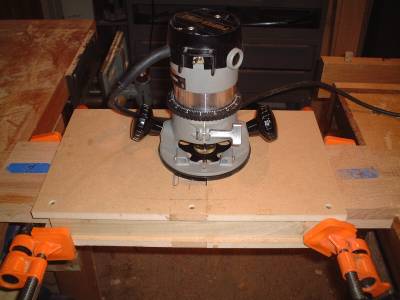
The router bit was only long enough to cut about half way through the rail, so I made a two-sided fixture that had an identical guide hole on each side. I was worried because I'd never done anything like it before, but it worked great.
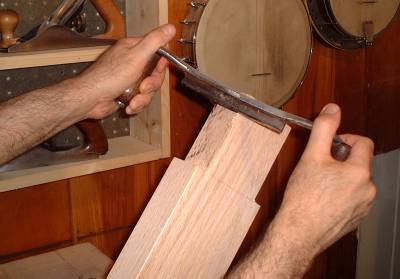
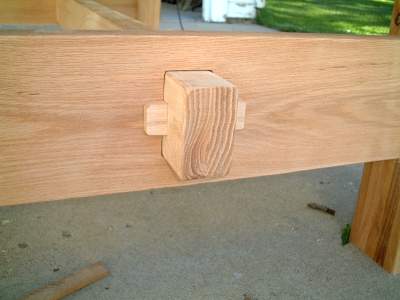
The corners of the mortise were rounded, and rather than square them off I rounded the tenon with my trusty drawknife. Look at the size of that tenon-much larger than what I would normally make.
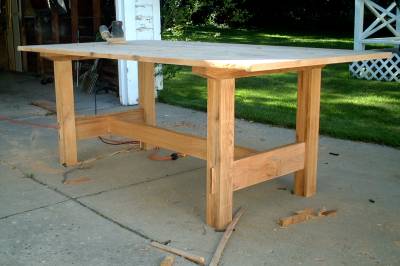
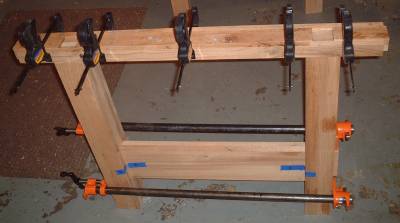
This is the first fitting of the parts, and everything went well. I ran out of room in the shop, so I'm assembling in the laundry area.
This locking mortise and tenon joint and four screws are all that hold the pieces together. The table is too large and heavy to move, so it has to break down.
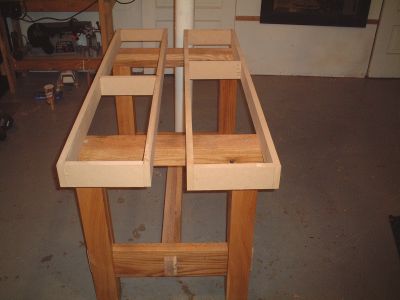
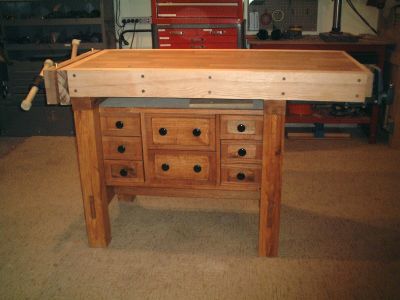
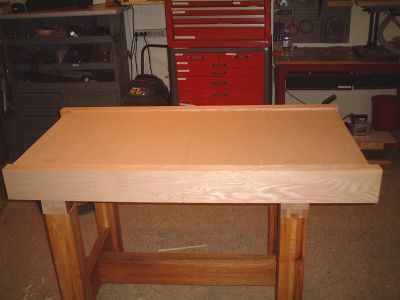
The top begins as boxes. These are made from ¾" MDF and will be very rigid when the bottom bracing and top boards are attached. The empty space in the boxes will provide a spot for the screws of the Veritas vise I’ll eventually install.
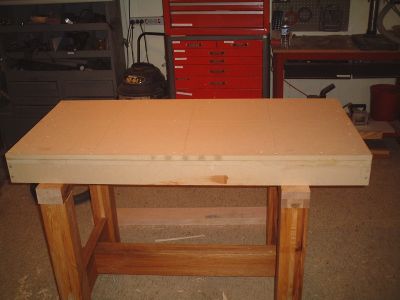
The work surface is made from two layers of ¾" MDF. Additional braces have been placed on the bottom surface of the box, and a piece of solid wood had been glued lengthwise between the two big boxes to fill in the gap.
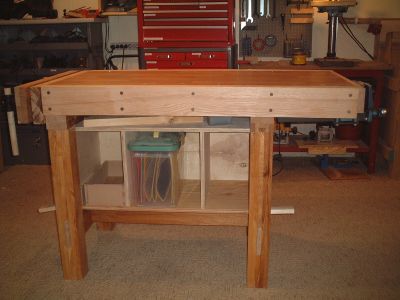
The side aprons are made of oak. There are just balanced in place right now, but will eventually be held in place with glue and large Miller dowels.
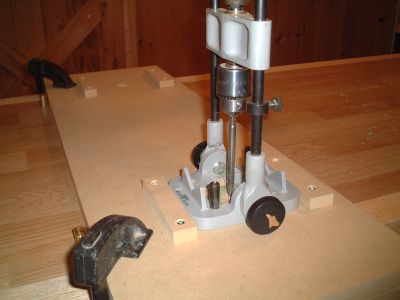
The MDF top is covered with a layer of laminate flooring. This makes it replaceable, and it is always very flat. A drill guide attached to a shop-made jig makes drilling the dog holes a simple task.
The cabinet is just a big, dumb box with a couple of dividers. It is made of plywood and held together with glues and screws. The two little pieces of wood sticking out from the cabinet are wedges that are holding the cabinet in place while it’s being screwed into position. Once the back of the cabinets is screwed to the legs the whole bench will be very rigid.
Installing the vises varies from brand-to-brand, so I won’t go into details, except to say that installing a Veritas Twin Screw vise requires a great deal of precision, and unless you are a very meticulous person you should not purchase this vise.
Finally, the drawers are added to the cabinet. In order to cut costs, the drawers are made of ½" MDF and held together with biscuits. The small drawers are resting on runners that I screwed to the inside of the cabinet. The two large drawers use full-extension slides.