


Here is a brief overview of the process, or click here for detailed step-by-step instructions.
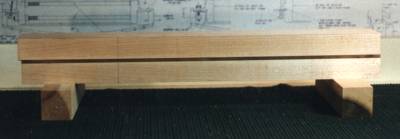
Select pieces of maple and walnut are laminated to create the neck block.
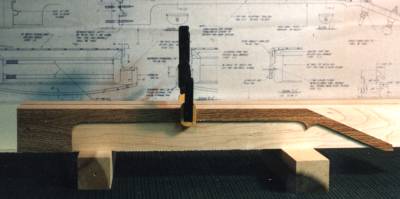
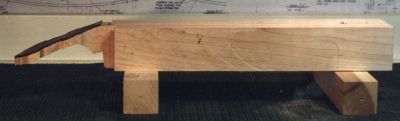
A template is used to lay out the pattern of the neck.
The first cut on this block was made on the band saw. Now I use a jig and cut it on the table saw.
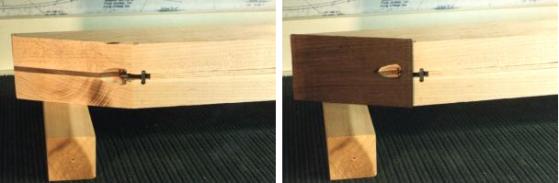
The peghead is sanded smooth and then covered with rosewood veneer.
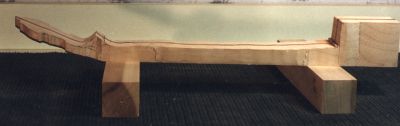
The peghead is cut on the band saw and sanded smooth.
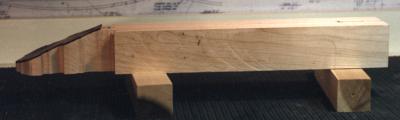
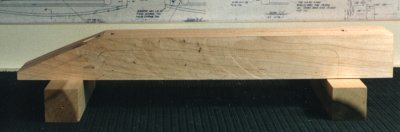
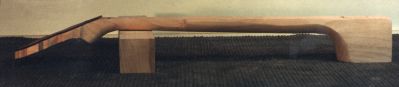
A side view shows that neck is still very much a block.
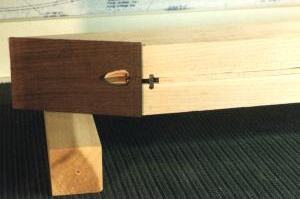
The peghead is freed from the block.
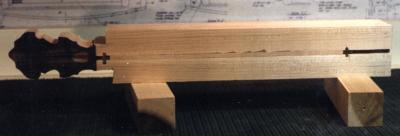
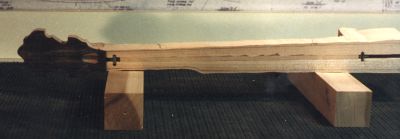
The rest of the neck is cut to rough shape with the band saw.
Here’s a front view of the neck at the same point as the last pic.
 The neck begins to take shape, thanks to some work with a drawknife and some rasps. A little more work with the rasp and some sanding will finish the job.
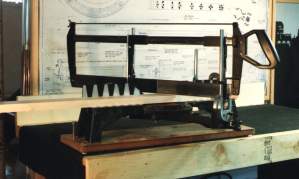
Back when this picture was taken I used a hand miter saw to cut the parts for the body block.

The angled stop block makes it easy to cut all the pieces to the correct length.

This fixture holds the wood in place during the gluing process.
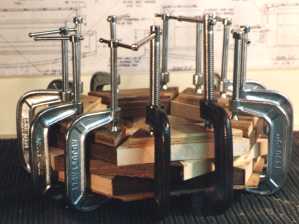
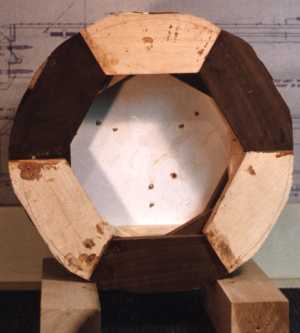
Three hexagons are clamped and glued together.
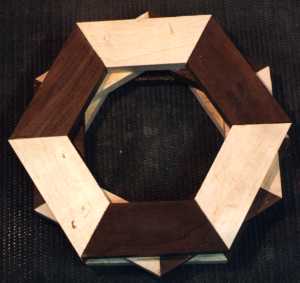
After it is dry, the block is removed from the clamps.
The body is trimmed to rough shape on the band saw and mounted to a face plate.
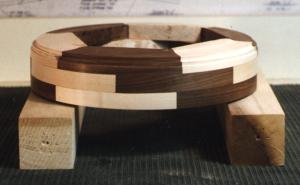
Fresh from the lathe, the body is round and has grooves for the tone ring.
I used to cut out the center of the body with a router bit mounted in my ShopSmith, but I later decided it was too unsafe.
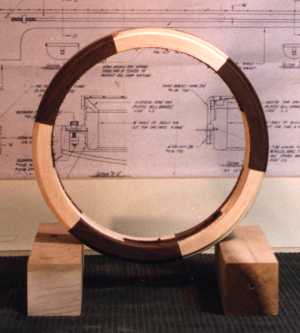
Now it’s starting to look like something.
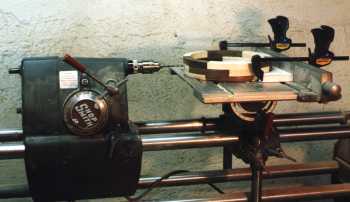
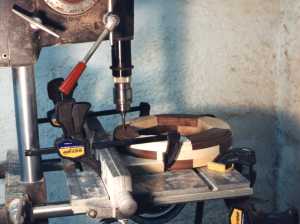
The ShopSmith is the perfect tool for drilling holes for the bracket shoes.
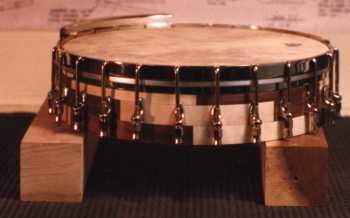
The banjo body, with head and hardware installed.

Here are the almost-completed components, ready for final fitting and application of the finish.