


(Without the use of a tachometer)
These instructions are meant to supplement your Shopsmith materials. Do NOT attempt to adjust or repair your Shopsmith without the proper Shopsmith instructions.


Remove the belt cover.
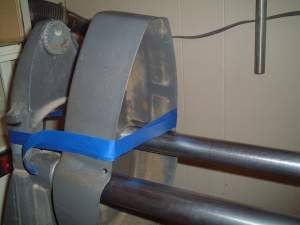
Move the headstock and carriage to the right as far as they will go and lock them in place. Slide the belt cover to the left and tie or tape it securely.

Turn on your Shopsmith and crank up the speed until the drive belt is 1/8" to 1/16" from the outside edge of the motor pulley, or until the high speed stop keeps you from turning it any further.
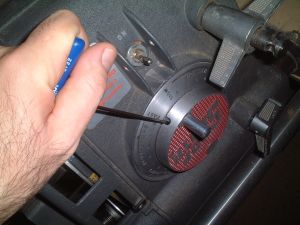
Remove the control handle. (Watch out-the machine is running and the belts are exposed!)
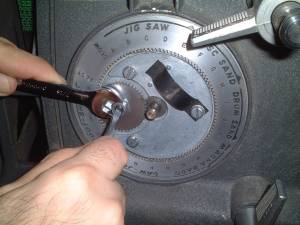
Use a small screwdriver to hold the set screw, then loosen the jam nut.
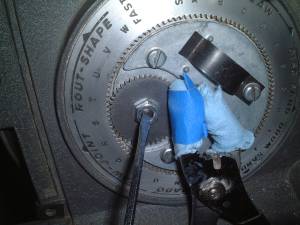
If the high speed stop engaged before the drive belt was near the edge of the motor pulley, turn the set screw COUNTERCLOCKWISE and, at the same time, turn the worm shaft CLOCKWISE until the belt is between 1/8" and 1/16" from the outer edge of the pulley. Note the use of pads on the pliers-this is to protect the worm shaft. This is the Shopsmith recommended procedure.
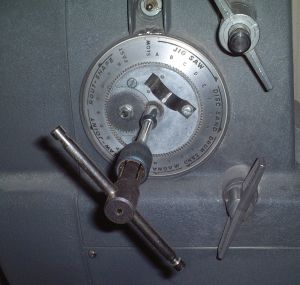
I found the padded pliers a bit awkward to use, so I created this tool. Click here to find out how you can make one, too.
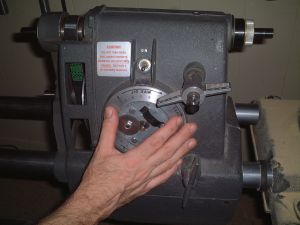
Turn off your Shopsmith. Re-tighten the jam nut. Press in and turn the speed dial until it reads "fast."
Replace the control handle and belt cover.
Shopsmith Company Home Page