


A Shopsmith can do the work of several machines, and it can even do a few things that other machines can’t, but you need to get familiar with it to understand its capabilities. Seeing it in action will help you think like a Shopsmith owner, and will help you get the most out of your machine.
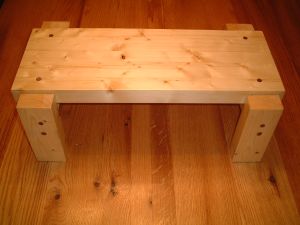
For this project, we’re going to build a simple stepstool, something that I really need in the shop and should have built long ago. I could build this with the other tools in my shop, but I need it to be stable and square, and only my Shopsmith can guarantee those results.
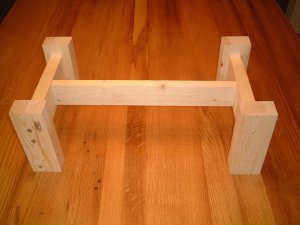
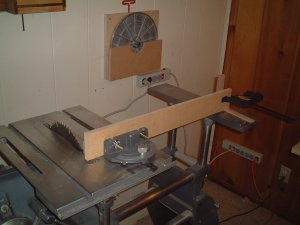
This is what it looks like without the top. You can see that it has a trestle base, which gives it a wide, stable footprint.
Part One: Building the Top
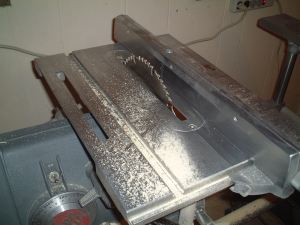
My vintage Model 500 doesn’t have the safety equipment and dust collection you’ll find on the Shopsmiths that being built today, so I generally don’t use it as a table saw. However, just to show that the Shopsmith can deliver excellent results ripping and crosscutting wood, I’ll be using the table saw function as I build this project.
Incidentally, all of the wood used in this project is leftover two by four stock that was lying around the shop.
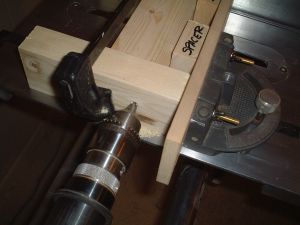
I’ve added an extension to the miter gauge.
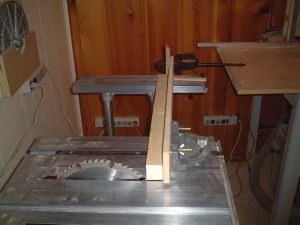
The extension makes it safer and easier to crosscut longer pieces, and a stop block assures they’ll be the same length.
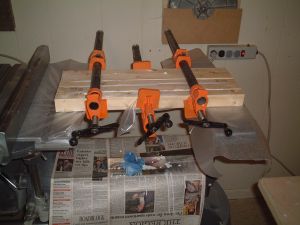
Here’s a trick I got from my dad—using the Shopsmith as a workbench. In this case, the Shopsmith works better than an ordinary workbench, allowing me to clamp from above and below.
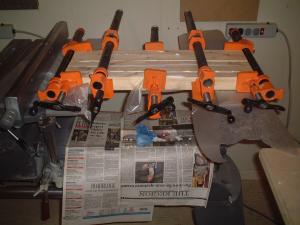
I can clamp from above and below, which is necessary with these bar clamps, and I can use the tables to make sure that the top will be nice as flat as possible (considering that the boards are not are not entirely straight).